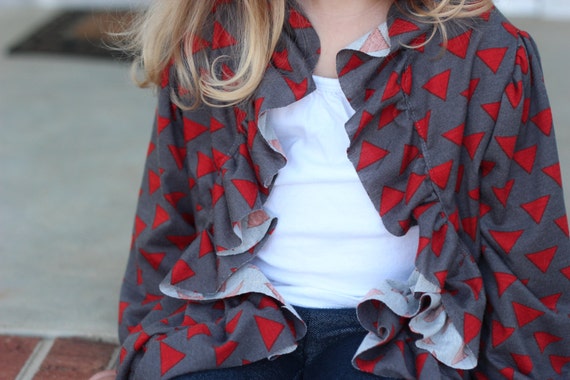
After sewing many many many quilts and pieces of clothing, I decided it was time to add some labels to my pieces! It looks professional, and it helps the kids know which side of their clothes are the back, in case both sides are similar.
I've seen people print on fabric, or order fancy labels, or use fabric pens, but I wanted to use things that I had on hand that would stay nice for a while. So I used printable iron-on paper.
I followed my transfer paper's directions for printing. First I reversed my image. I used "Grits & Giggles" and my web address for custom orders tags. You have to print the text backwards so it will transfer correctly!
Cut out your individual labels to the size you want, and cut ribbon at least 1" longer on each side than your label. This is so you can turn your ribbon under for sewing.
I followed my paper's directions for ironing. Nothing fancy, just press and hold!
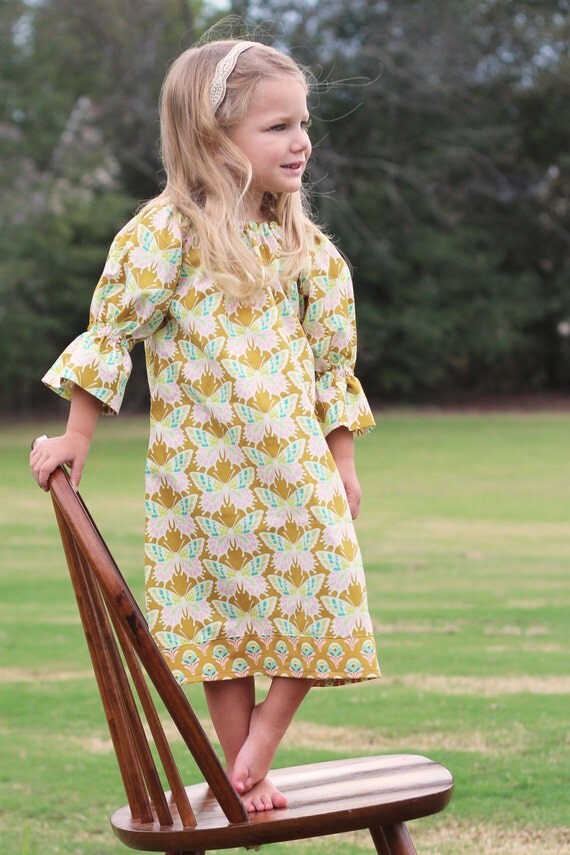
Once sewn into a garment, it made it look so much more professional! Although this dress has a definite front and back, it's still nice to see a tag in the back saying who made it.... ME!
I'm glad I finally took the time to make these. It only took minutes, but it adds just the right touch to my finished garments and projects. I'm excited to sew these into everything I make now!


