Showing posts with label Sewing. Show all posts

Thursday, June 30, 2016

Geometry Quilt


I finished my first quilt of the year (too bad it's almost July)! I have had this quilt on my mind for a long time, and I decided it was time to make it happen. Now that my baby boy is in a "big boy room" (insert ugly crying tears here), we moved my rocker into the living room. And in the house of a quilter, all furniture must have a unique quilt on it.

This quilt has many names depending on who you ask. Some call it 3D blocks, tumbling blocks, rhombus cubes, etc. I call it my Geometry Quilt. Geometry is the only math that I'm good at, so I wanted to combine a pretty geometry concept with quilt math and make a perfect piece for my living room.


I made my own template for the cube, using a 60 degree diamond and triangles. I figured out a way to strip piece the blocks and eliminate the horrible Y-seam that comes with sewing cubes. If you look very closely, each of the teal diamonds is actually two triangles sewn together. This allowed me to piece the columns, then sew them together using a straight seam. 

I used solid Kona cotton for the grays and white, and a tiny teal dot for the tops of the cubes. I LOVE a striped binding, so I was happy to find this white and charcoal fabric at Hobby Lobby. 


I usually straight-line quilt my pieces, but I couldn't do that with this design. Instead, I opted to do a meandering straight line. I have done meandering curves before, and this was definitely more difficult. I like the overall effect, because it's intentionally messy, but keeps from breaking up the pattern. 


I am going to enjoy snuggling up under this baby. It adds the perfect pop of color and pattern to my favorite rocker-glider. I still find excuses to rock both babies in that chair, whether it's in their nursery or not.

Ruffle Pants for Back to School


It has been a LONG time since I was able to sit down, sew something, take pictures of it, and blog about it. With kids, graduate school, and work, my opportunities to sew and create are rare these days. But I did want to share two outfits I made for baby girl for her back to school wardrobe.

When I created the Meghan Ruffle Pants pattern two years ago, I had to bribe baby girl to put them on for me to take pictures. I was certain she would love them, and she hated them. Fast-forward to kindergarten, when all of her friends are wearing LOTS of ruffles. Now, she wants the pants. So what's a sewing mama to do??? Of course, sew up some ruffle pants and make matching shirts!

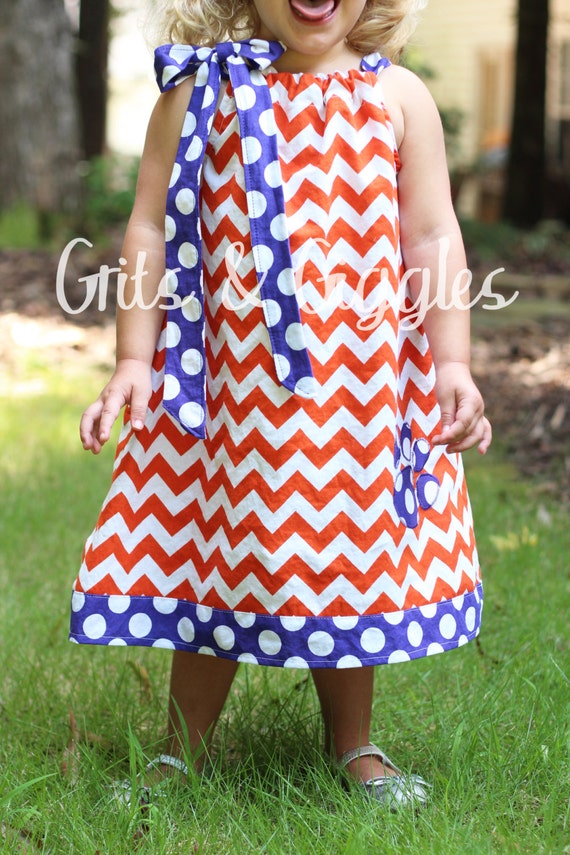
Her first look is perfect for football season, with our precious orange and purple to help us cheer on our Clemson Tigers! I shortened the length of these pants from the original pattern, because she likes them a little more capri-length than touching the floor.


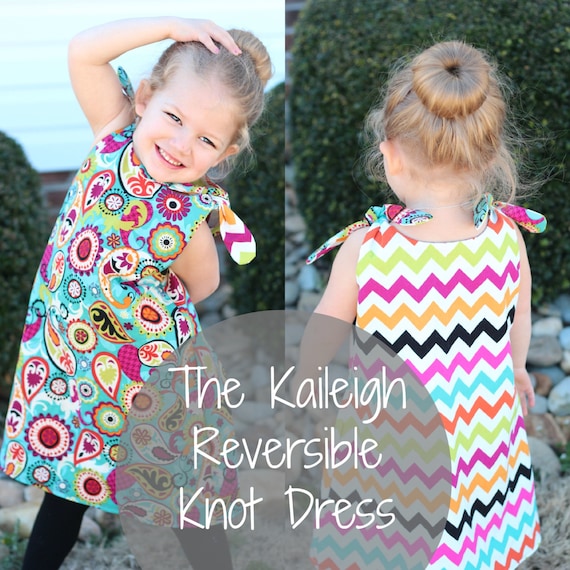
These pants sew up in less than an hour, and with only about a yard of fabric per pair, they are inexpensive to make! If ya'll have been reading Grits and Giggles for a while, you know I don't like outfits that you can only wear once, or with one other item. Hence, my reversible patterns such as the Bradshaw romper and Kaileigh Knot Dress. So although both of these pants match her new shirts, they also match other tops in her closet as well, so she can mix and match for the weather and her mood that day.


So head over to the shop and grab your ruffle pants pattern. Your baby girl will have a closet full of ruffly goodness in no time!

While you're here, I want to send a HUGE thank you to all of my customers. Grits & Giggles Pattern Shop has sold thousands of patterns on Etsy and Craftsy since opening just a few short years ago. 


Monday, May 11, 2015

The Reversible Jon Jon

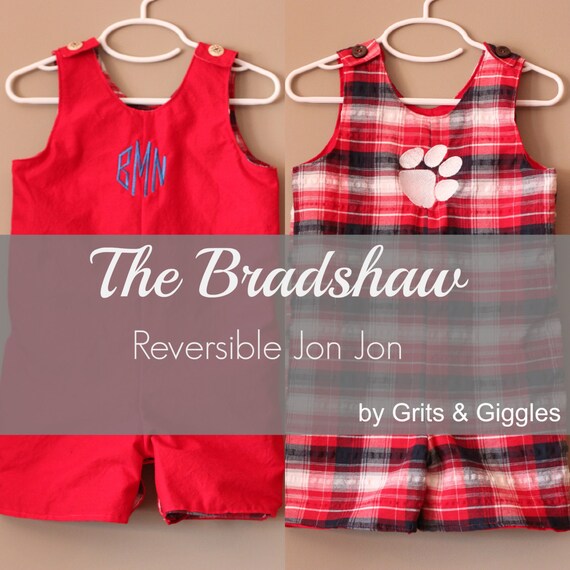
Last year ya'll made the Bradshaw Reversible Jon Jon my best selling pattern.


I have heard from so many of you making this jon jon, for Easter outfits, matching brother outfits, and so many other things.

My favorite though, are the people utilizing the center seam to make "house divided" jon jons for college and professional sports teams. How adorable is that?

Having a reversible garment is great when you have young children. Stain down the front? Just flip it over and you have a new outfit.


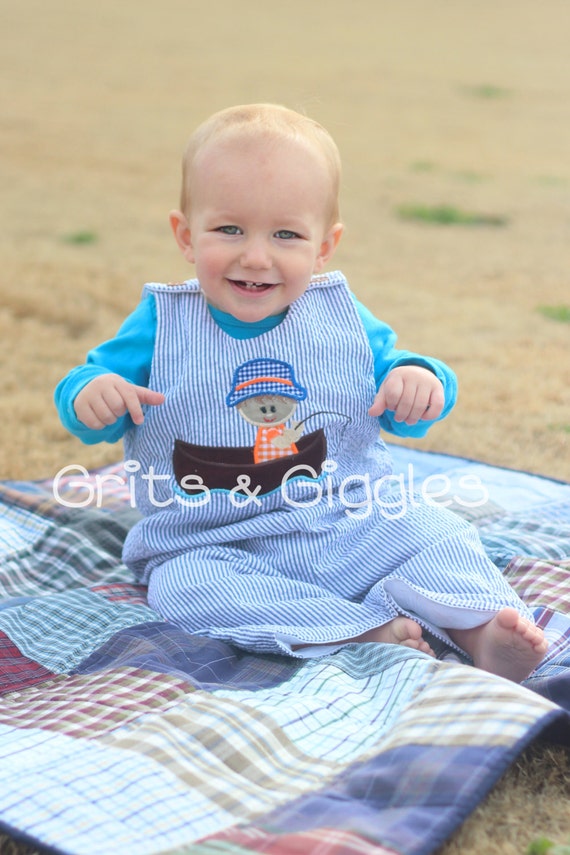
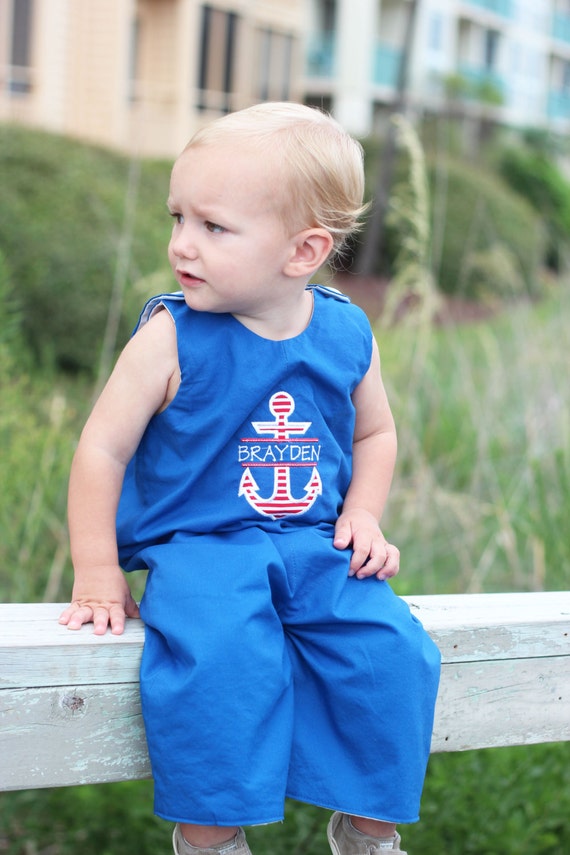
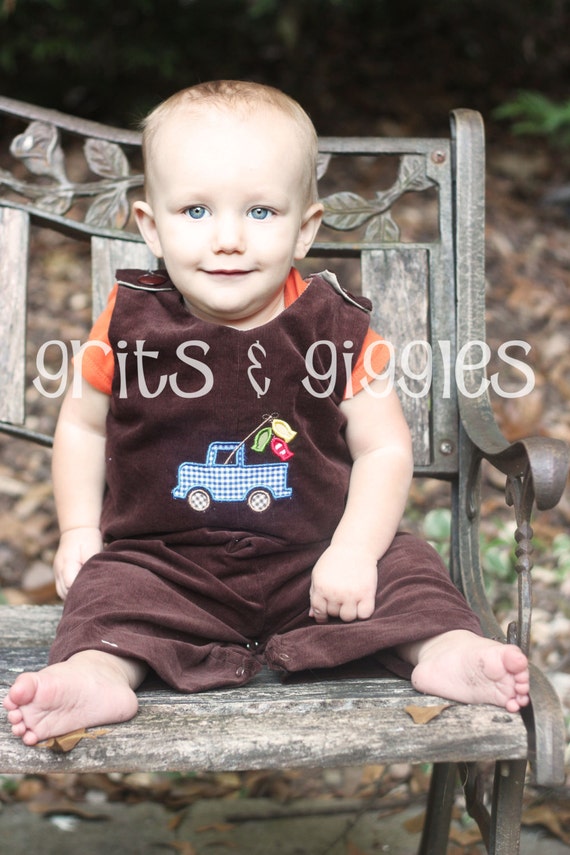
The possibilities for appliques and patterns are really endless.


You can find the pattern HERE in the Pattern Shop


Monday, May 4, 2015

Sewing Shorts

Have you tried sewing shorts before? It's easy to whip up a quick pair to match that gorgeous appliqued shirt you just HAD to have for your little one, or make a slouchy pair to run around the yard in.

Grits & Giggles Pattern Shop has shorts and pants patterns to keep your little one's covered year round!


AND for you cloth diapering Mama's....the Jackson Long Shorts have extra room in the rear for those fluffy bums! There's nothing worse than buying a cute pair of shorts only to have the diaper hanging out because they don't fit correctly.

Problem Solved!


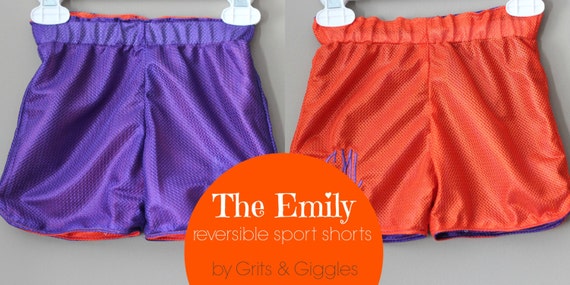
And if you're into athletic sewing, make the Emily reversible shorts to show team spirit in TWO colors!!


Monday, April 20, 2015

Baxter and Sam

I did my first ever 3-D sewing this winter. I sewed some teddy bears!! I wanted something loveable to gift along with the quilts for my cousin's twins, and thought a new sewing project would be a good idea.

I used The Wool and Liberty Bear pattern from the Purl Bee. They have the most beautiful projects for sewing, knitting, and crocheting. Their bear was made from a lovely wool, but I wanted something soft, but a little vintage looking. I found some of the super-soft microsuede that I've used for so many projects, and decided to use accent pieces from leftover quilt squares.

I lovingly named them Sam and Baxter


They actually turned out better than I had planned, and were easier to make than I imagined.


Each one pairs so nicely with their coordinating quilt.


I'll let the twin's parents decide who gets which one, or if they'll change the names. They're hard to let go of after they've been starring at me so long now. I know they'll love their new home.


At least I know they're going the same home. Twin bears, for twin girls. I hope they love them as much as I loved making them.


Monday, April 13, 2015

3-Seam Plastic Bag Holder {Tutorial}


How many of you have a plastic bag collection that looks like this???


Yeah...embarrassing, and  taking up space in my pantry floor. I use green bags at the grocery store, but every now and then I end up with a plastic bag coming home with me. I keep them and try to reuse them, but storing them was unsightly. So I needed a new plan...a bag holder. This little baby has only 3 seams (not including the strap) and will hold 10-15 plastic bags.

Materials:

Cotton, quilting or home decor weigh cut to 15"x18"
Elastic cut to 10" ( I used 1/2" wide, but you can use what you have)
A strap-use ribbon, or cut a piece of your fabric to 3"x18"
Sewing things

(Sure, I could have ironed my fabric before taking pictures, but I was impatiently wanting to organize. Ironing can wait.)


Take your large piece of fabric and finish the long edges first. For the top edge: turn the edge under 1/4" then another 1/4" and sew.

For the bottom, this will be a casing for your elastic. Turn the bottom up enough to fit your elastic, then turn the edge under 1/4" to hid the raw edge. Sew these two hems.


If you are making your strap from fabric, fold it in half long ways, then fold the outside edges in to the middle, This will give you a sturdy strap with no raw edges. Sew down both long edges to finish the strap.


Using a safety pin or other tool, insert your elastic into your casing. Securely sew the edges of the elastic to the edges of your fabric. 


Decide where you want your straps to go on your bag. I put my straps halfway between the edge and the middle of the rectangle that will be my bag. Remember, the bag is still flat so you can easily measure where your straps need to go if you want!

Secure the straps to the bag with a straight stitch, or make it fancy and sew a box of stitches around the bottom of the strap.


Now, fold your rectangle right sides together, and sew the main seam. Use a large zig zag stitch to finish the edges if you like.


Now, turn your bag right side out, and stuff with your bags! The elastic bottom allows you to remove the oldest bags, and the open top allows you to add new ones easily.


Hang it from your closet door, or a hook in your pantry for easy access. Now your bags are neat, off the floor, and discrete!


Thursday, March 26, 2015

Spring Dresses

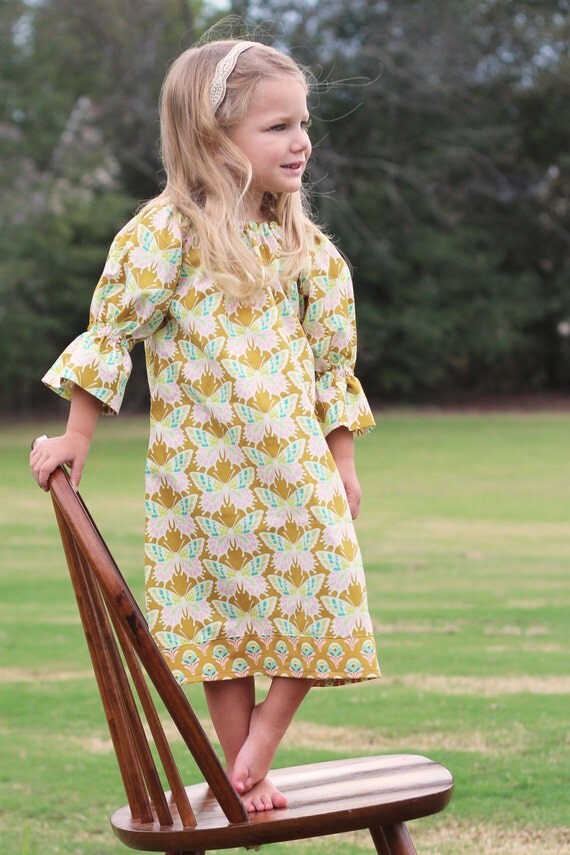
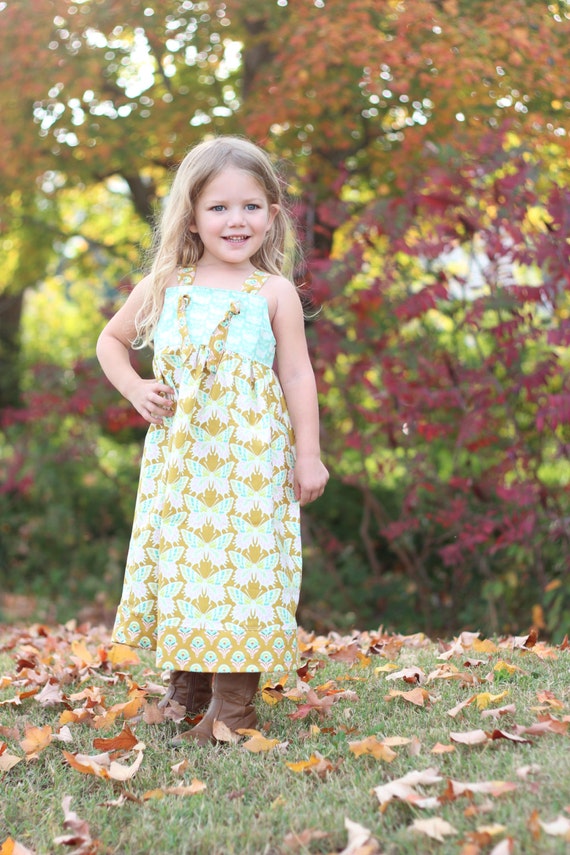
It's time to spruce up your little girls' spring wardrobes with some beautiful dresses!! Grits & Giggles Pattern Shop is full of dress patterns that are easy to sew, and leave room for your imagination to run wild! Use multiple fabrics, add monograms and trims, and make the outfit completely unique to your little girl. 

Here are some of my favorites....


Happy Shopping and Sewing!!


Monday, March 16, 2015

Sewing for Free Spirit Fabrics

I was delighted and honored to sew some children's clothing samples for TWO amazing Free Spirit Fabric Designers for Fall Quilt Market. Getting to see and work with these fabrics before they were released was so much fun, and they were incredible to work with.

The first line was "Clementine" by Heather Bailey. Her bright colors and amazing florals were so much fun, and Goldilocks was soooo sad that the clothes didn't get to stay at our house.

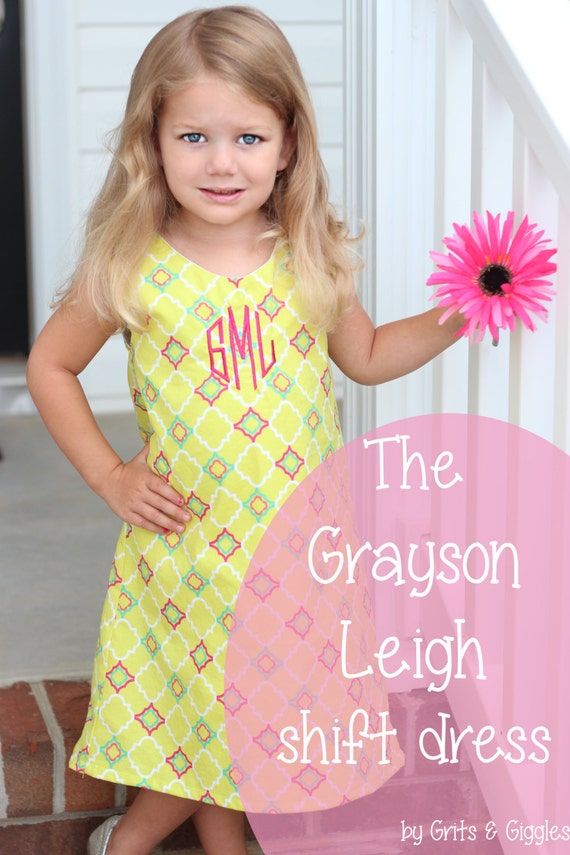
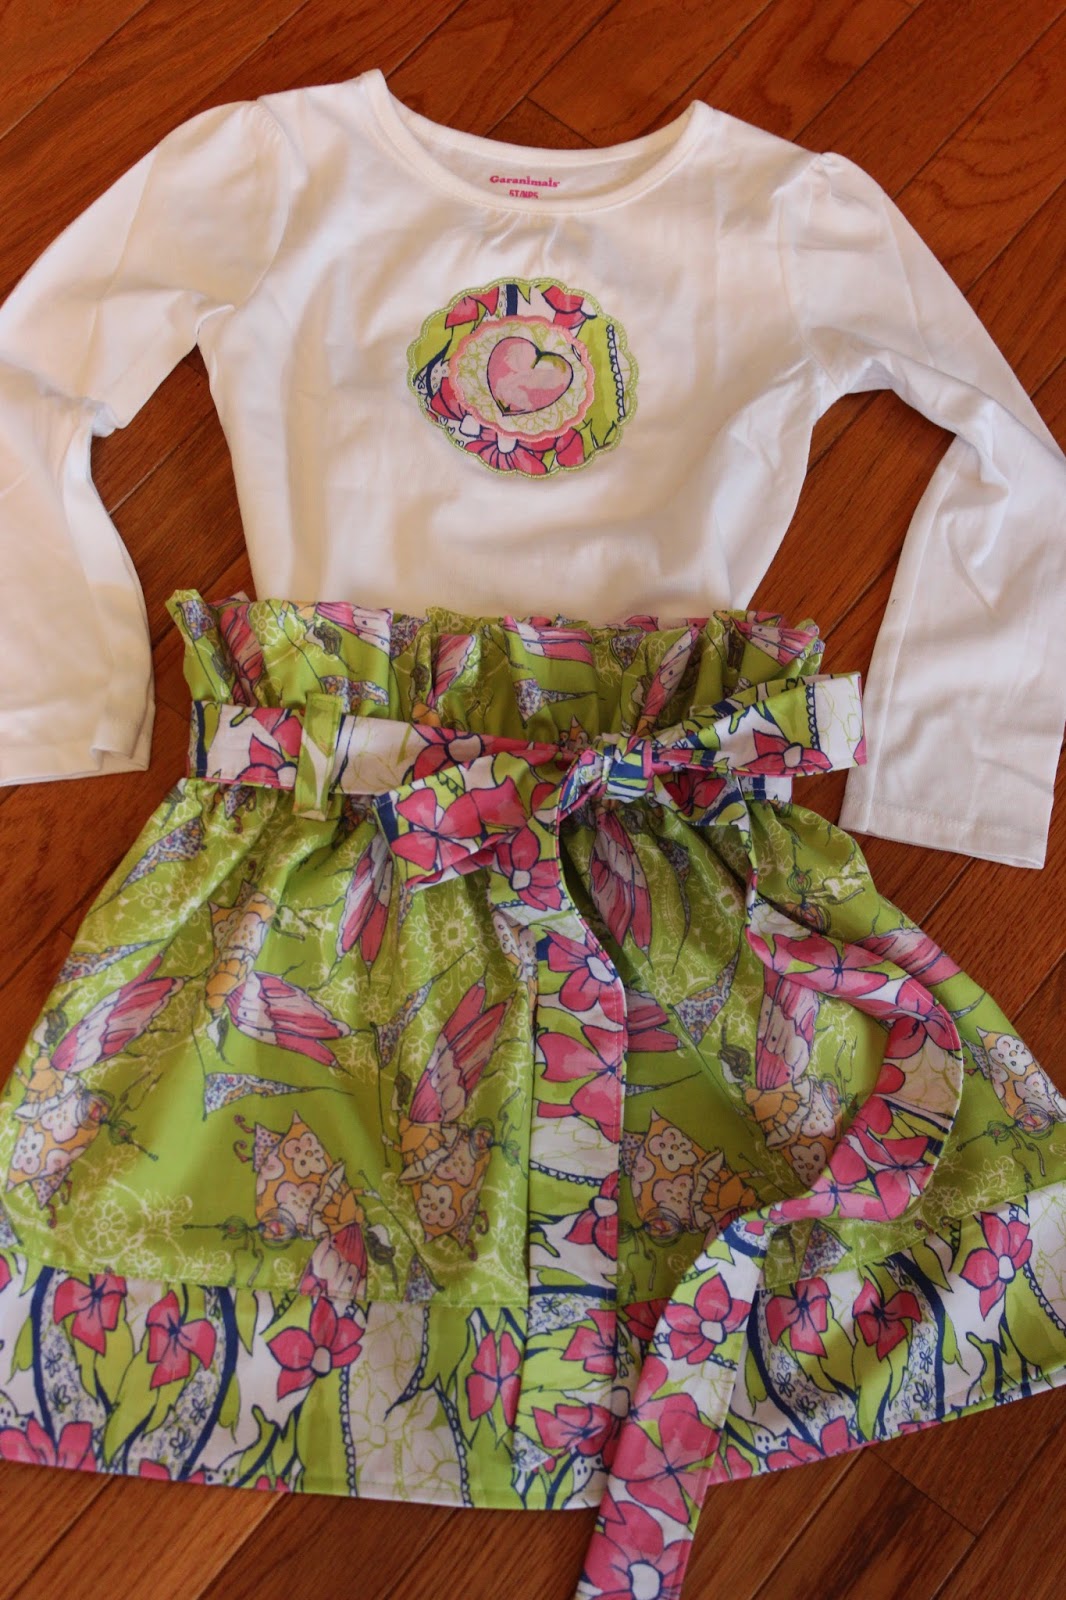
I made a Laura Jane Dress, Merebeth Paper Bag Skirt, Grayson Leigh Dress, and appliqued a t-shirt to match the skirt. All patterns can be found HERE at Grits & Giggles Pattern Shop.


I also did a set with "Feather Flock" by Tina Givens. These fabrics were whimsical and beautiful, full of fairy tale creatures and vibrant colors.

For this collection I made a Grayson Leigh Dress and a Merebeth Paper Bag Skirt, along with an appliqued shirt to match. 


If you love boutique-style outfits, this is a super-easy to do combination! The Merebeth skirt sews up fast and makes a big statement.


I don't know which one I love more. I'll be ordering these fabrics once they come out to recreate these looks for Goldilocks for sure!


I did manage to take one modeling shot of Goldilocks before I sent the outfits off to designers. This girl is painfully beautiful. 


Thanks again to Coats & Clark and Free Spirit Fabrics for allowing me to work with you on this special project. The fabrics are beautiful as always and make the perfect canvas for creating beautiful things.


Monday, March 9, 2015

Lovely Fabrics

I spent all last year working through my scraps and buying almost NO fabric. It hurt, but it was nice to really make a huge dent in the scraps I already had.

With the news of new family members coming (twins!!) for my sweet cousin, fabric shopping had to happen. 


The nursery will be their two favorite colors, teal and orange. It's such a modern and fun combo. To fill in other colors I added some gray and white as well.

I was able to find the two shades of "Pearl Bracelet" that I needed, and planned the rest of the fabrics around those! Hobby Lobby was a great resource for some beautiful matching colors.


Crafting with these has been fun, but I'm ready to meet their new owners! I'm ready for sweet babies in the family again!


Monday, January 19, 2015

Zippered Snack Bag {Tutorial}

Even though my babies are still a little young for school, I have already started thinking about back to school plans. I know it will be a busy time of year, so I decided to knock out a project EARLY this year, so it would be done, done, done, and out of my mind.

While doing my scrapbusting last year, I decided to use some zippers and fabric I already had on hand to make reusable snack bags, perfect for back to school lunches.


These are medium sized bags, about 7x7, so they'll fit snacks, or even half a sandwich.

You'll need:

A zipper 
two squares of outer fabric (the width of the whole zipper tape)
two squares of lining fabric
sewing things

*I used rip-stop nylon for my lining so food wouldn't stick to it, but it would still be totally washable.


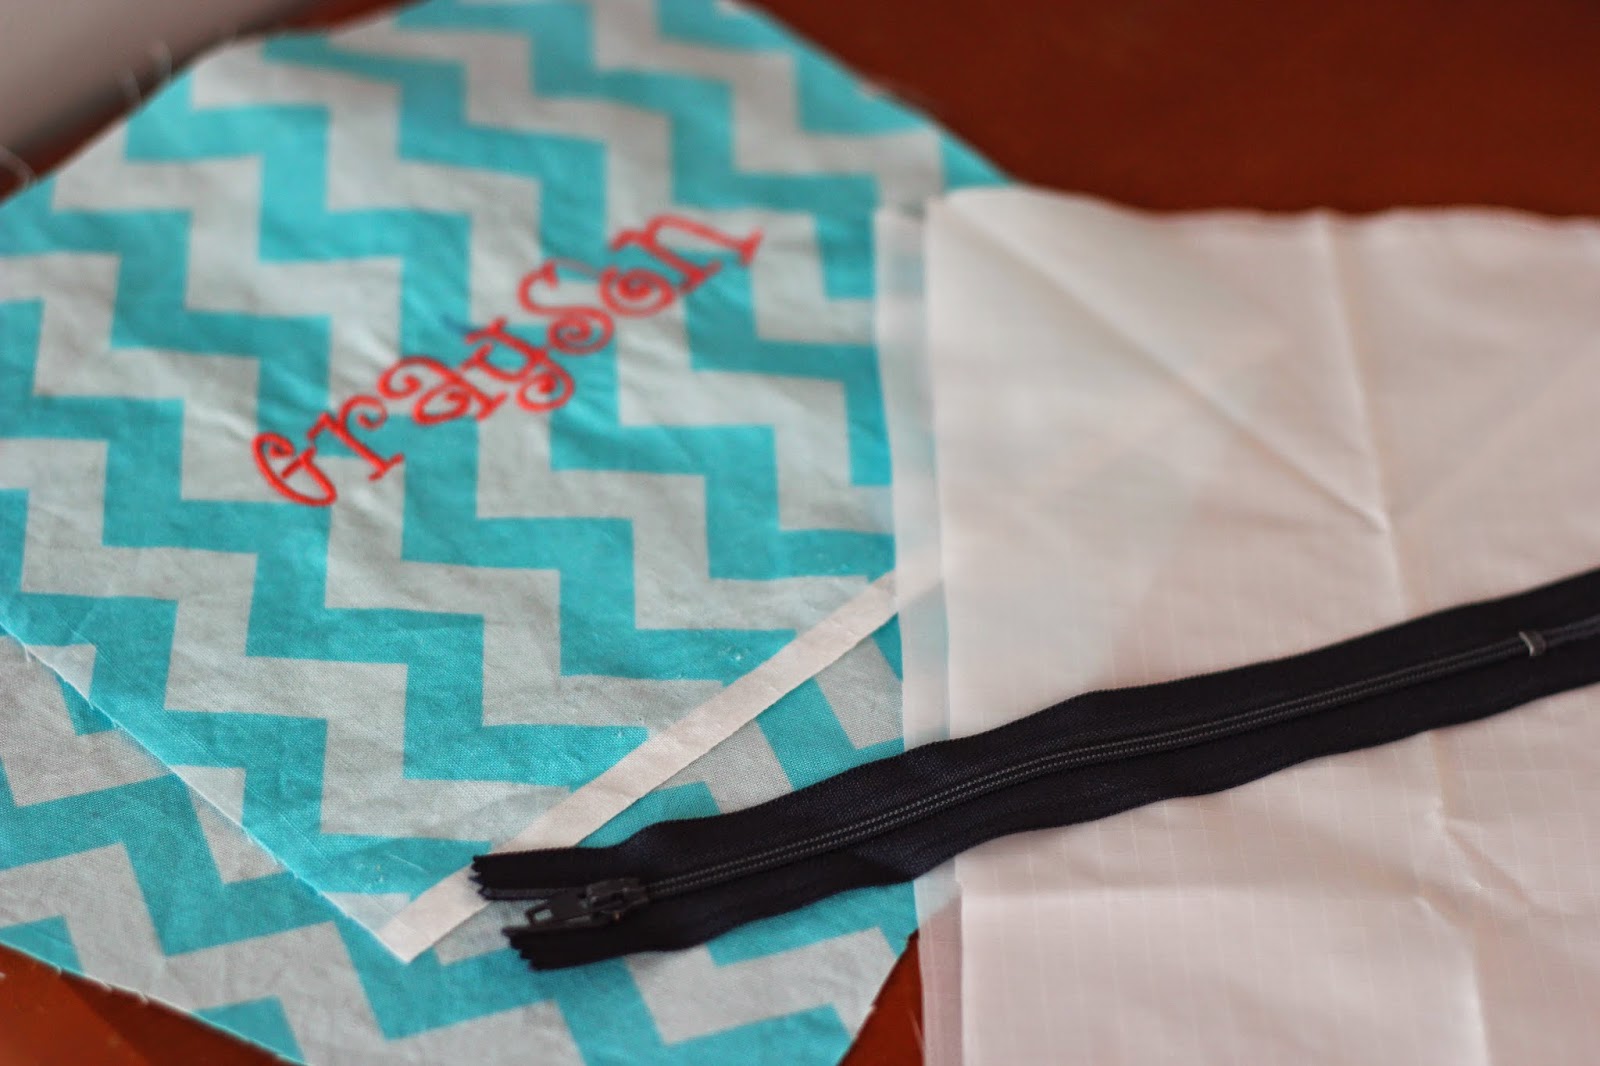
First, make a zipper sandwich. Place your lining, right side up on the table, then your zipper right side up, then your outer fabric right side down. 

Sew the three layers together, close to the zipper teeth.


When you flip the pieces over, you should have plenty of room to unzip your zipper. Make a zipper sandwich on the opposite side of the zipper, just as you did before. This will give you both sides of your bag.


Once your fabric is attached to your zipper, spread the fabrics out away from the zipper and topstitch along the edge. This will keep the fabric neat, and out of the zipper's way. 


Now, unzip your zipper halfway. DON'T forget this or you'll be angry later.

Now, flip your fabrics so that your outer layer is right sides together, and your lining is right sides together. 

Sew around the entire rectangle, leaving a small hole in the lining for turning later.


Once you've sewn your rectangle, pull the fabric through your open zipper (see, leaving it unzipped was important!). Before stuffing the lining back in, sew the hole shut that you left for turning.


Simple, quick, and best of all, cute and reusable! The kids can get these open themselves without the irritating sound of velcro! And if they get dirty, just throw them in the washing machine.


Now, I'll put them away and hope it's a long long time before I need them!!


Related Posts Plugin for WordPress, Blogger...