Monday, June 24, 2013

Product Review: Cardstore.com

I was recently given the opportunity to make a review a card from Cardstore.com . I LOVE cards, getting them and receiving them. One of my little hoarding secrets is that I've never thrown away a card. Ever. I have a huge drawer full of birthday, Christmas, Mother's Day, whatever-day cards and I love them all.
 
The lovely people at Cardstore.com told me to run wild with the card and really have fun making it. I didn't know what kind of card to make, but I decided on a "just because" card. I made the card and had it waiting on my parents when they got back from vacation last week. 
 
I made the mistake of browsing through ALL of the cards to find the one I wanted. BIG mistake. Ya'll....if you can't find a card you love from their huge selection, you're just too picky!! They have sooo many cards for all occasions, and they're cute which makes choosing even harder.
 
I finally decided to make a photo card with the Word Bubble option. I thought it would be cute.
 
 
*Note: these pictures do NOT do the card justice. The colors are brilliant and clear!* 
 
 
Uploading a photo was easy, and adding just the right text was too. There were many options to customize and lots of font selections and colors to choose from.
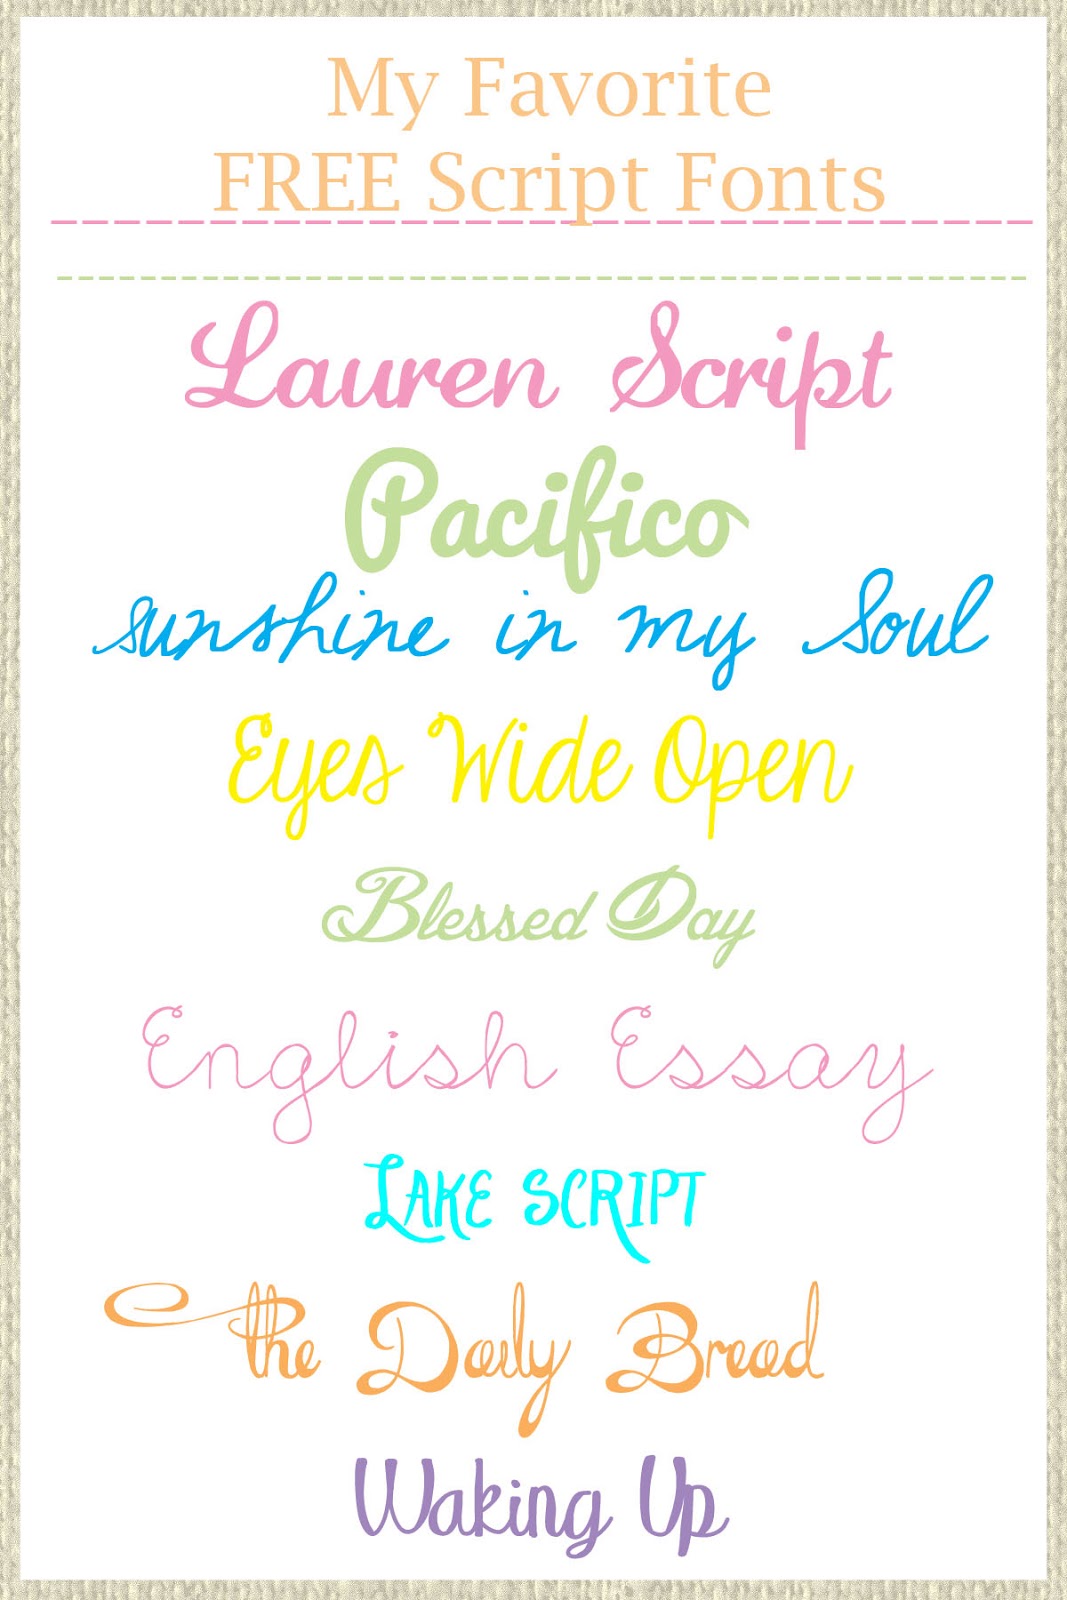
Ya'll know I love fonts.


Creating the perfect "just because" card, and making it personal didn't take any time at all once I chose the card I wanted. It was easy and fun to make a one-of-a-kind card. Shipping was fast too. I got my card in the mail in just a couple of days.
 
I am so glad I was introduced to Cardstore.com and allowed to try their cards out. I dread going to the card stores in town these days. Have you ever tried taking a toddler in the card store? They want to touch/read/open everything!!
 
Now I have a go-to site to get beautiful, personalized cards for all occasions.
 
Go check them out!

Tuesday, June 18, 2013

T-Shirt Quilt: The Beginning

Have you ever had a hard time letting go of something that you just KNEW you weren't going to use anymore? This is me and my college t-shirt collection. If you've spent 4 years at college, especially if you were involved in clubs and organization, then you know what kind of collection I'm talking about.
 
While cleaning out pre- and post-baby clothes, I was going through the mountains of college shirts in my closet. Some I had already put up in storage, and others were taking up shelf space. Most of them look pretty busted, because they were my go-to shirts for several years. I didn't wear "nice" clothes. Jeans and t-shirts with flip flops were what you could find me in every. single. day.
 
As much as I love these shirt, they were taking up WAY too much storage room in a house with not enough storage. So I decided it was time to shrink them down a little. I was going to make a quilt!
 
The pile started with about 35 shirts, all from my 4 years of college.


I hugged each and every one of them as I took them and laid them on the floor. I excitedly filled Hubby's ears with "do you remember..." and "I wore this when...".  My sorority shirts were the hardest to go through.


One of my Winthrop shirts I had gotten as a junior in high school, once I decided I wanted to go there. That shirt...is old.


Other shirts were from random clubs and events that I took part in while I was at Winthrop. So much happens in 4 years. Relay for Life, honor societies, church organizations....so much to do.


I spread them all out, and got sad about cutting them up. I just couldn't do it! Then Hubby reminded me that I still had the MEMORIES of what happened in the shirts, the events, the friends. I knew I wasn't going to wear them, but I was holding on to what the shirts meant to me. After his pep-talk, and a few more pep-talks from my college girlfriends, I realized that they were in fact pieces of cotton.


So I started cutting. I cut the fronts and backs off of each shirt, making sure to leave plenty of room for trimming and seam allowances.


I wanted my quilt to be different than so many of the other t-shirt quilts I've seen, so I made each block a different size. I like the mix of skinny and long blocks to break up the quilt. There are so many colors and fonts too to look it. It's fun to see!

 
The blocks are sewn together into one HUGE quilt top right now. I chose a piece of super-soft fleece for the back, basted the two together with pins, and I'm now in the process of quilting. Now I see why quilters send large quilts to a professional. A long-arm machine would come in handy right about now, but I'm tackling it a few inches at a time.

 
I can't wait to be done and have the most well-worn quilt EVER to wrap up in. Or put in my college storage box....we'll see.


Thursday, June 13, 2013

Freezer Cooking

It was time for round two of my freezer cooking. The first round of meals went great. They were easy to thaw and throw in the crock pot or skillet, and supper was ready in no time without the messy chopping and cleaning food first.

Devoting a couple of hours to chopping and cleaning every month, making MANY bags of prepared meals saves so much time in the kitchen when it comes to preparing meals for your family. I personally hate washing dishes, so knowing I only have to scrub cutting boards and knives one time for all of these meals makes me super happy.
 
I'm including a couple of the recipes I use for my freezer bags. These are just a few of our favorites. The ingredients can be altered any way you like to make the perfect meals for your family.
 
I always do my bags assembly line style. I chop all of my meat and veggies and sort it into large bowls. Then I label my bags with what meal it is, and whatever needs to be added before cooking. Also add the date, so you can keep track of how long it's been in your freezer.
 
 I throw my meat in the bags first to make sure there's an even amount in each one.

 
Then I throw in handfuls of veggies, add the sauces and spices, and seal the bags up.
 
Freeze them flat to take up less room in your freezer.


If you've ever gotten a recipe from a southern cook, you know that measurements are less than scientific. These measurements are not exact, just estimates of what I might have used. The ingredients, however, are correct.
 

Barbeque Chicken

2lbs chicken (legs, thighs, breasts)
1 tbsp minced garlic
handful of carrots
handful of onions
1/2 bottle barbecue sauce (your favorite flavor)
*I add some brown sugar to mine to make it sweeter*
Thaw the bag and cook in the slow cooker 4-6 hours


White Chili

1lb chicken, cubed
2 cans white beans
1/2 can Rotel (tomatoes and chilis)
1 package of white chili seasoning
*thaw and place in slow cooker. Add 1 can of chicken stock before cooking*
Cook in slow cooker 4-6 hours


Pot Roast

2lbs beef pot roast
2 handfuls of potatoes, cubed
handful of carrots
handful of onions
1tsp minced garlic
2 tbsp of your favorite beef rub/seasoning.
*Thaw and place in slow cooker. Add 1 cup water or beef stock before cooking*
Cook in slow cooker 4-6 hours


Honey Chicken

2lbs chicken breast
1 cup honey
1/2 cup soy sauce
1 tsp minced garlic
1/4 cup brown sugar
handful of onions
handful of broccoli (I use frozen broccoli)
Cook in slow cooker 4-6 hours


*I usually start my meals on high for a couple of hours, then turn the heat down to low until we are ready to eat. After 4-6 hours our food is always cooked through and tender. Larger pieces of meat will take longer, or more time on High heat to be ready to eat.


Tuesday, June 11, 2013

Surprise Storage

Do you ever find storage solutions in surprising places? I've been very slowly trying to get our house organized, and the kitchen has been my main focus so far. While de-cluttering the pantry I found LOTS of Crystal Light packages. We drink a lot of Crystal Light in our house, and while it's great, the containers take up a lot of room in the pantry. I emptied them out into a smaller basket with just the packets of powder and freed up lots of space. Then I was left with lots of empty, perfectly good plastic containers with lids.
 
The wheels in my head turned for a while and I decided these would be great to help organize some of the tiny little things in my craft room.


All intact, ready to be repurposed...


They are the perfect size for pens, pencils, and markers. Now, instead of having a huge cup of unorganized writing instruments on our desk, we can now find what we need quickly. Even better, they're see through, so finding the right color is a breeze.


I raided my craft supplies and found a few that needed to be tamed. Two of my culprits were my pile of glue sticks, and a few rolls of ric rac. Both fit perfectly into their new homes, and aren't rolling around or unraveling in my craft drawers.


And....just because I can, and everything is cuter when labeled, I made some vinyl labels for my containers to let me know what was in them! I used my Favorite Fonts to make the labels.


These two are my favorites...I love the dots.


Sometimes the best storage solutions are on their way to the trashcan! Look around your house and see what you can repurpose into useful storage.

Saturday, June 8, 2013

My Favorite Fonts

I have a new obsession that's taking over my computer....FONTS!! I never knew there were literally thousands of fonts waiting to be discovered for me to love. Many fonts on the internet are premium (aka...costly), but I've put together a list of a few of my favorites. Best of all...these are FREE!
 
A fun font can really spice up a computer project. Whether you're doing a presentation for school or work, using a scrapbooking tool, designing cards, or making vinyl decals, having creative fonts can make a cool project absolutely perfect. Besides, you can only use "Curlz" so many times before you get really sick of the twirly cuteness.
 
Try one of these fonts for your next project....


I download most of my fonts from Dafont.com . Downloading is easy and your font is ready to use in seconds!
 
I've printed these images of my fonts out, so I can see what they look like when I'm working on a project. It's easy to find one that's perfect if you can see what the letters look like.
 
Find your favorites and start your awesome font collection NOW!!

Wednesday, June 5, 2013

Zoo Time

On our way down to the beach, we made a little pit stop at the ZOO! I've been wanting to take Goldilocks, but it's been super rainy, or we've been busy, so this was a great opportunity. Baby boy was just along for the ride, but I think he enjoyed getting out of the car.
 
The first thing we saw, Goldilocks loved. Because they were pink. The flamingos were so bright and fun to look at.


I like to imagine what these two were talking about. Making a dinner date perhaps...


One of Goldilocks' favorite movies is Happy Feet, so she was excited to see some penguins.

 
The heat was almost scorching in Columbia, so a lot of the animals weren't so happy to be out in it. The lions at least gave us a little peek.


This gal right here....I want her job. They said she had just had a baby, but there was no baby sighting for us.  I know how she feels...tired.


I got super happy when I saw this! These frames were made from all kinds of plants. My favorites were made of succulents, but there were fun grasses too. It makes me want to craft something, but my green thumb isn't so wonderful.


This little girl loved the Zoo. LOVED it.

 
One of my favorite animals were the giraffes. We got there at feeding time so they were happy and very social.

 
Which leads me to the best photobomb ever....


That's right, the giraffe photobombed my picture. She might as well have said "Hey Lady... take my picture too!!"

Monday, June 3, 2013

Charleston


We had the privilege of going to Charleston to stay with a friend this past week. What made it more fun, was trading lodging for food. He let us stay in his house...and I cooked him supper every night! Not a bad trade if you ask me!
 
The weather was perfect, and our little family of 4 enjoyed spending time together in one of the most beautiful cities around.

We strolled downtown to the Battery to see the Pineapple Fountain.
Somehow, someway we got there when there was NOBODY there. I will never get another picture of this fountain with nobody in it again! Usually there are kids swimming in it.
 
 
The last time we took pictures at the fountain, Gray was almost 2, and looked a LOT different.

She, of course had to jump in the fountain back then. I was also barely pregnant with baby boy. A lot has changed in a year! Look at them now!


Of course, Hubby had to walk baby girl around in the water. She loves to splash!


We were able to spend a couple of days at the beach, relaxing and playing in the sand. It's not too relaxing when you have a toddler and infant with you, but seeing how happy Goldilocks was made it totally worth it.

 
Baby boy took his first dip in the Atlantic Ocean this time. The water was pretty chilly, but he didn't seem to mind. How cute are the bathing suits for tiny humans too!!


Before we left we were able to sneak in a quick family picture. It can be hard to remember to take pictures with everyone in them! I'm usually behind the camera, so its nice to sneak into a shot every now and then. 


Hubby took off one day with his friend to hit the high seas and catch some fish! They caught a few and brought home our supper. This dolphin was a beauty, and tasted great too. Baby girl was fascinated watching the guys clean the fish. She's really into cooking lately, so it made her happy to get to see the whole process, from the cooler to the grill, to our tummies.


I was super excited to go the beach and try out my Water Sling for the first time. Baby boy and I both loved it!! Luckily, Hubby got to go to the beach with us one day so he could take pictures of it.


I can't wait for us to go back when both babies are older. It just gets more fun seeing how they change each time we go!

Sunday, June 2, 2013

Walk With Me, Daddy {Tutorial}

You know how sometimes you just HAVE to give somebody something, even though the occasion isn't for a few days weeks? I pinned a poem last year that I wanted to do for Hubby THIS year, and after I had it made...I just couldn't wait to give it to him.

He loved it, and it now sits proudly with the pictures of his babies in our room.

 
The original Pin had two painted footprints, which is cute, but messy. And I did a footprint/handprint card for him a while back. I decided to use a picture we took in Charleston last week. It was perfect, although it only has one of our babies in it. It would be just as personal as the footprints with the added sweetness of the picture.
 
Here's how I put it together so you can make your own!
(This could be done with any poem/saying/song and picture. The possibilities are endless.)
 
 
Open your picture in Microsoft Word, or another program allowing text and pictures. Size the picture to fit your picture frame. Mine was a 5x7.


Click on your picture and choose "color options". Several options will pop up. Anything would work, but I chose to drain the color to a tan color scheme. Watercolor, sepia, or black and white would be nice. Just make sure it's light enough to show your text.

 
Fix the text wrapping to "through" so you can manipulate your picture and text with ease later.

 
In a new text box, type out your poem. Be creative with a fun font. I chose "Bleeding Watercolor" because it looks like kids' handwriting.

 
Move your text box over the picture and center it.
Work with the font size to fill your picture with the wording.

 
Print it out and frame that beauty!!


As seen on CraftGossip.com


Related Posts Plugin for WordPress, Blogger...